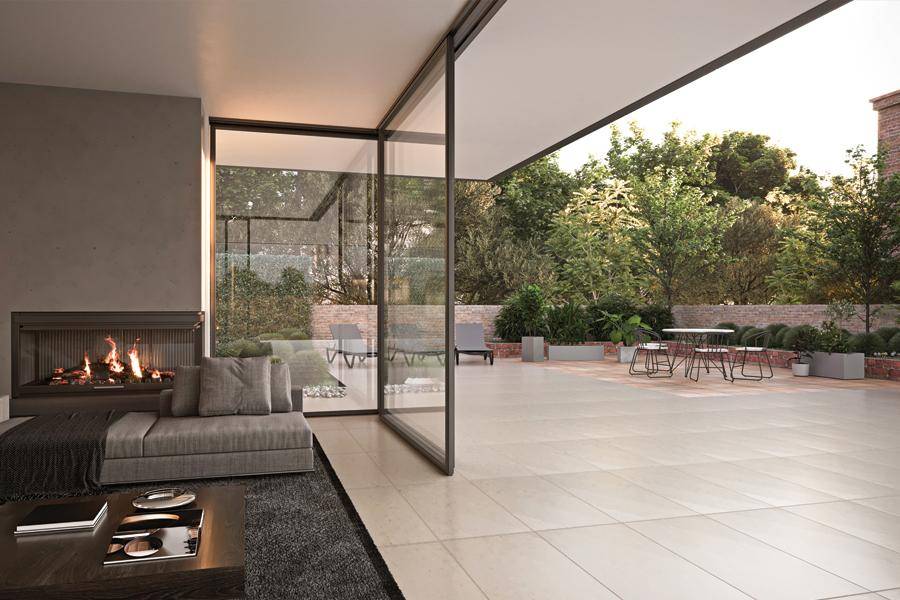
Martin Pouncey and Alan Collins, technical training managers at Instarmac, discuss the basics of external tiling installation
There is a perception that external tiling is too complicated, takes too long and not worth the bother, but with 20mm porcelain more available than ever before, external tiling is going nowhere.
Trust us when we say that, with the right guidance and materials, external tiling is really simple and nothing to be feared – and let’s not forget that you can also earn some extra money by adding this service to your business.
Before we get on to fixing the tiles, let’s have a quick chat about suitable bases for external tiling.
Traditionally, when tiling externally a concrete base is required. A typical concrete base is made up of 100mm type one compacted stone. Once the stone has been compacted, a 200mm concrete screed should be poured over the base. It is really important that the screed is left to fully cure – we recommend leaving a concrete screed to cure for at least 6 weeks in dry conditions.
A level, fully cured screed will not only provide a solid base, but it will also provide a foundation to create “falls” – a slight gradient in the adhesive bed that will allow water to run off.
An alternative method for external tiling is a sub-base of 100mm type one compacted stone. This is often made up of one 50mm layer of compacted stone, followed by a second 50mm layer. Once this has been achieved, 20mm porcelain tiles can be applied onto a bedding mortar.
Right, that’s bases done. Let’s get down to the fixing! So, option one – concrete bases.
If you’re fixing 20mm porcelain tiles to a concrete base using an adhesive, there are just five steps you need to follow for flawless tiling.
Ensure the concrete is dry.
Clean the base and remove any loose or weak areas.
Prime the area.
Apply the adhesive to the floor – we recommend using ProFlex SP, ProFlex SPES or ProFlex S2 for a permanent and easy installation.
Once the adhesive is set, the area can be grouted using an external and flexible grout such as ProGrout Flexible.
Easy peasy right?
Now, if you are fixing tiles to compacted stone using a bedding mortar, there are only three steps to follow.
Mix and apply a minimum 30mm bed of bedding mortar.
Prime the back of the 20mm porcelain tile using a slurry primer and then bed into the wet bedding mortar.
Once the mortar is set, the area can be grouted using a brush-in sand, such as ProPave.
So as you can see, external tiling really is that easy.
It goes without saying that if you would like any further advice before embarking on your external tiling job, we are always here to support and guide you. You can connect with us on LinkedIn or email [email protected].
We also run a number of external tiling related online courses over at the Instarmac Training Academy so be sure to head over there to check them out.
www.instarmac.co.uk


