With Halloween just around the corner, and following on from their advice about how to tile over underfloor heating, Alan and Martin take a look back at their favourite, and most memorable, tiling horror story.
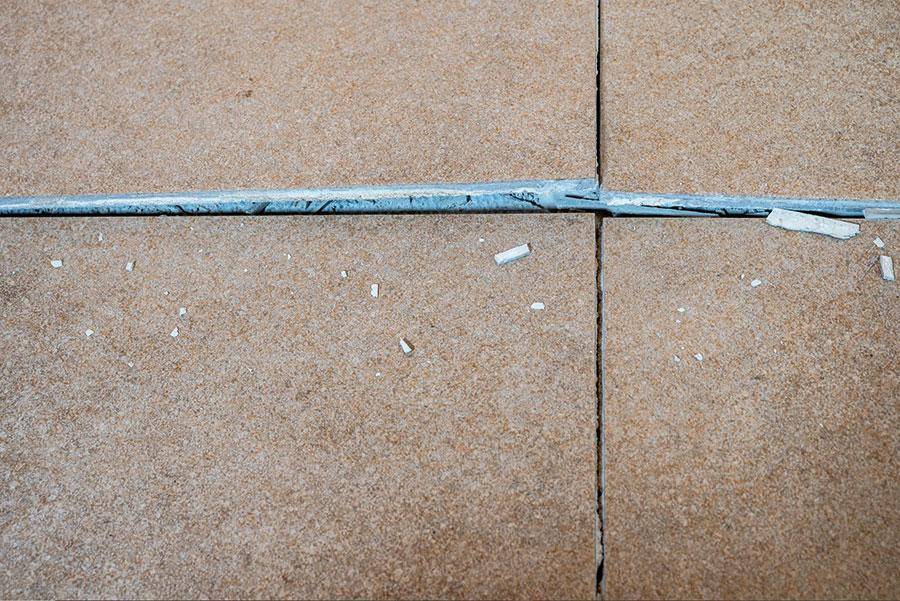
I was asked to visit a site where large format 900mm x 900mm porcelain tiles had been laid and the grout was cracking within the joints. The floor in question was approximately 150sqm in a large refurbished house in central London.
Unfortunately, when I got to the site, things didn’t get off to a great start. I think the tiling contractors were nervous of what I was going to say, and so were a little on edge when I arrived.
They were quick to lay blame on the grout for the cracking joints, but I knew there was more to it than that!
To give a little more background information, the floor was a timber construction with an electric underfloor heating system. A trade flexible adhesive had been used to fix the tiles (basically an adhesive that wasn’t S1 or S2 classified) and waited a couple of days before applying the grout.
On inspecting the grout, I could clearly see the crumbling within the joints was due to movement within the tile itself. I’ll never forget standing on the edge of one tile and seeing that the vertical movement was about 2mm between two tiles – pretty scary stuff!
I advised the contractors there was movement within the system, but to truly know what was going on, we would need to remove a tile.
Begrudgingly, the contractor agreed and we selected a tile in the middle of the walkway where the majority of the movement was. Using a tile sucker, I pulled the offending tile clean off the floor with almost no resistance whatsoever. Now for the really scary bit… under the tile were 6mm trowel lines in the adhesive bed, along with 5 large blobs of adhesive that were used to bond the tile.
I thought this was bad enough but then the situation took a horrifying turn. Running through the trowel lines, I could see the underfloor heating cables, and when I chiselled out some of the adhesive, it revealed bare chipboard flooring with no overlay present.
Ok, ok, ok. You can stop screaming now!
I advised the contractors on the areas of concern that I found. The list of issues looked something like this:
Chipboard floors must be overlaid with either 15mm plywood or an appropriate backing board to remove vertical deflection
Underfloor heating should be fully encapsulated, leaving no air voids as this can damage the underfloor heating system
When tiling a floor, it is recommended that a 20mm half-moon trowel is used as this will give a better coverage, along with back buttering of large format tiles. Back buttering is an absolute must as this will create suction, keeping the tile in place
Using the dot and dab method will create air voids which will allow tiles to lift from the surface
Due to the movement of the tile, the cracked grout was the most visible issue but was the least of their problems.
All in all, this was a pretty scary job, as you can imagine! What’s even more chilling is that all of these problems could have been completely avoided!
Sadly though, because simple steps were missed and advice not sought, the entire installation had to be ripped out and started again – at a substantial cost to the contractor.
The British Standard is full of advice and guidelines to avoid horrifying installations like this. If you are ever unsure, take a look at the advice online before beginning any work. As always, we are available to offer support on material choice and product application. Please give any of us a call and we will be more than happy to talk you through it. We don’t want you to end up as one of our tiling horror stories!
01827 254402
www.instarmac.co.uk


